THE PALM TECHNIQUE
AROUND 2-3 YEARS AGO
on The Wrap Institute Forum video request page and in the hands-on workshops I teach, more and more installers were asking advice on how to avoid adhesive lines. Essentially, if the wrap film is worked into a recessed area in stages or sets up around a raised object like a door handle/ antenna, even a bubble, the adhesive forms a line on that ten- sion point.
Installers were using the same techniques as normal, but, for some reason on all brands around this time, these lines could be seen under the wrap, especially on a color-change wrap. These lines were causing customers to complain and installers getting frustrated that they could not create a paint-like finish. Based on this, I started experimenting with different techniques and, last October, finally came up with two techniques and several minor tweaks that keep those adhesive lines at bay.
THE PALM TECHNIQUE
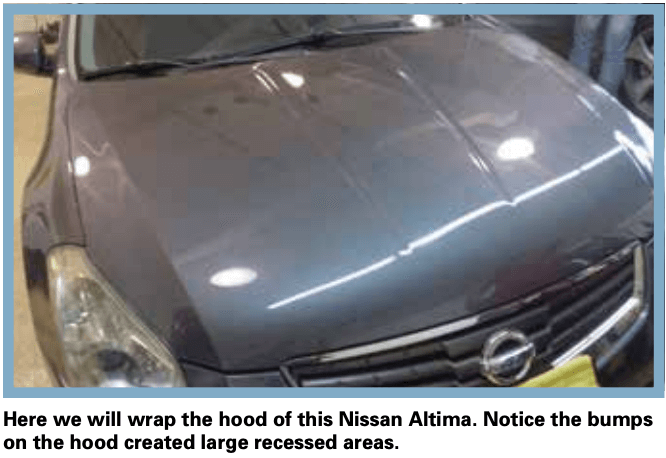
The first technique is called "The Palm" and it's for any sized recessed area. The Palm essentially turns the traditional way most installers approach a wrap upside down. The traditional way is: Make a permanent hinge in the middle point with a squeegee stroke, hold the material away from the surface with the free hand, squeegee in overlapping strokes and, if there is a recessed area, feed it in or work the film into it in stages with an application glove. The problem with working into a recessed area in stages is that it creates adhesive lines.
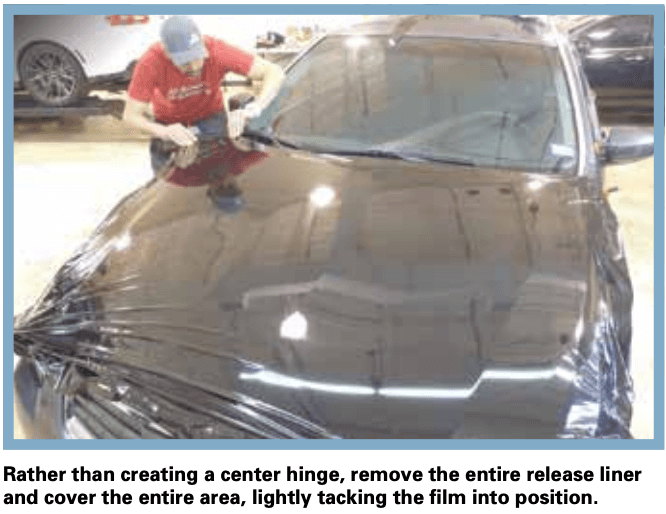
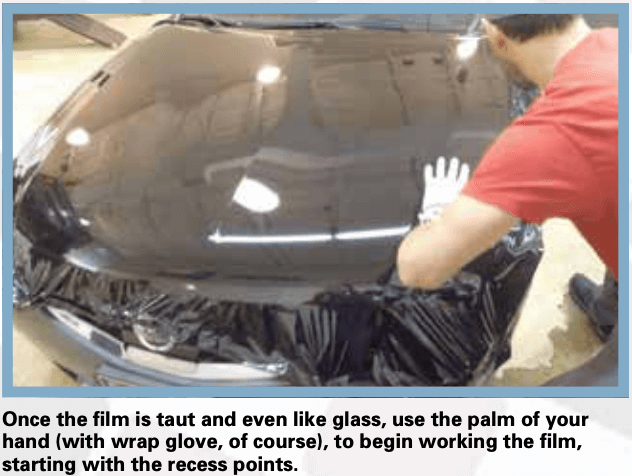
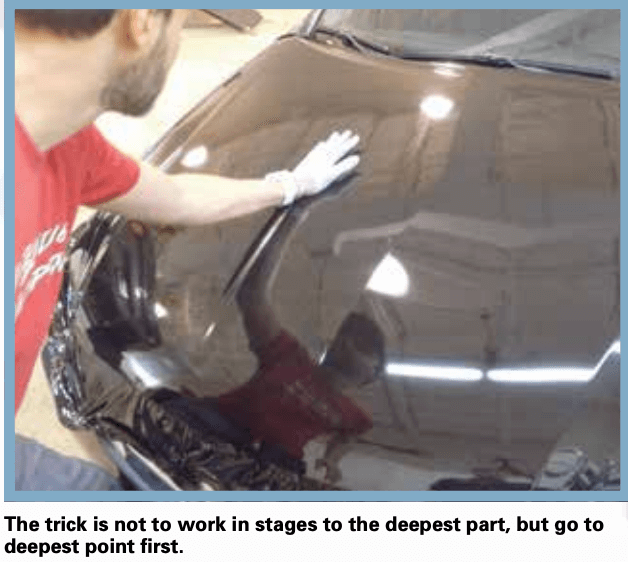
With The Palm technique, the approach is totally different. First off, no hinge, in fact, no squeegeeing until the last step. Release the entire liner, create 100 percent glass then apply the film into any recessed area first using either an application glove or soft squeegee. For the recessed areas, the trick is not to work in stages to the deepest part, but go to deepest point first. With all the recessed areas applied, the last step is to squeegee the flat areas that are super easy. The reason the flat areas are extra easy is that by applying the recessed areas first, it pulls the wrap film tight so these areas become like wrapping a wall.
What is critical to understand is by not locking the film any- where on the application surface by first squeegeeing, the wrap film can shift subtly to any recessed area. This helps the wrap film ease into these areas so much that very few times heat is needed to relax the film, even for calendar films. I think if the wrap film does not need heat to conform to a recessed area it
stays under 10% stretch, which is a good goal for an installer. Plus, if it stays under 10% stretch it means no post heating at the end of the day. A double win of time and quality savings.
SHOOTING FOR THE CORNERS
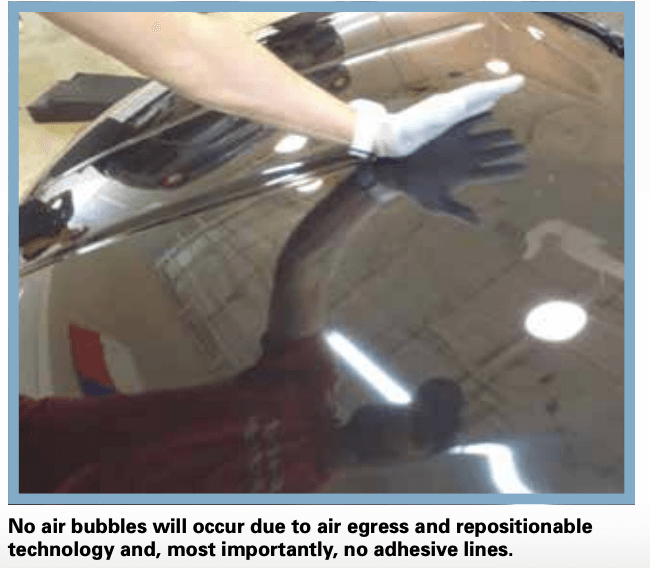
For mirrors, door handles and bumpers the key is to use the technique of shooting for the corners or "making a bed." By doing this it creates 100 percent glass first before even a single squee- gee stroke has been applied. Traditionally, the idea is to do these areas in stages starting from a hinge and working in overlapping squeegee strokes. However, as the wrap film works around the compound curve, tension naturally builds wherever the film stops, which immediately creates adhesive lines. The trick is to allow the technology of today's air egress and repositionable features to work for you. By releasing the entire liner, lightly tacking the wrap film in position, then pulling with the triangle technique and minimal heat, 100 percent glass can be achieved. Once the wrap film is in place the last step is to squeegee. No air bubbles will occur due to air egress and repositionable technology and, most importantly, no adhesive lines.
For the minor tweaks, they are for adhesive lines occur is around raised objects and bubbles. For raised objects, if the material bridges any of these areas for even 5-10 seconds an adhesive line will set up. The trick is to not allow the film to bridge around these areas. To do this, the keys are to make very precise relief cuts so the main base of wrap film almost lays flat around the raised object and to work quickly when the material happens to bridge an area. Masking tape comes in very handy for allowing the film to slide off a main object quickly to the main surface, which helps avoid those adhesive lines.
PUSH THE BUBBLES
For bubbles, the key is to push the bubble flat immediately as soon as one appears. Back in the day, bubbles could be left until that section, like a hood, was completely done. Today, if the installer waits until the end to flatten a bubble, a very clear adhesive line of that bubble will remain. One thing to note is that an installer should not only flatten the bubble right away but keep it as low and flat as possible. Making a bubble smaller and tighter actually makes the situation worse. This creates more tension on the edges, which will almost always create an adhesive line and make it hard to avoid bunching or wrinkles. With the bubble, wide and flat, use a thumb to press right in the middle of the bubble. This keeps the edges soft and lets the air egress technology absorb all the air.
FASTER INSTALLS, FEWER ADHESIVE LINES
If you have been wrapping in the traditional way this may seem like a lot of work or too different from the norm. Yet, once these new approaches are made part of a routine, they keep adhesive lines away and lower install times. By embracing and trusting the tech- nology of the adhesive-air egress and repositionable-it allows installers to avoid the shadow of other changes in the adhesive. Somehow ironic and at the same time fitting.

