Efficiency In Vehicle Graphics Installation
Efficiency In Vehicle Graphics Installation

One of the first questions I am asked when instructing a graphics installation workshop is, "How can I shorten my install time?" My answer often surprises people because it's not just one or two steps. The key to shortening installation times is by shaving off a percentage of time spent on every aspect of the installation, especially on aspects that are not specific to the application of the graphics.
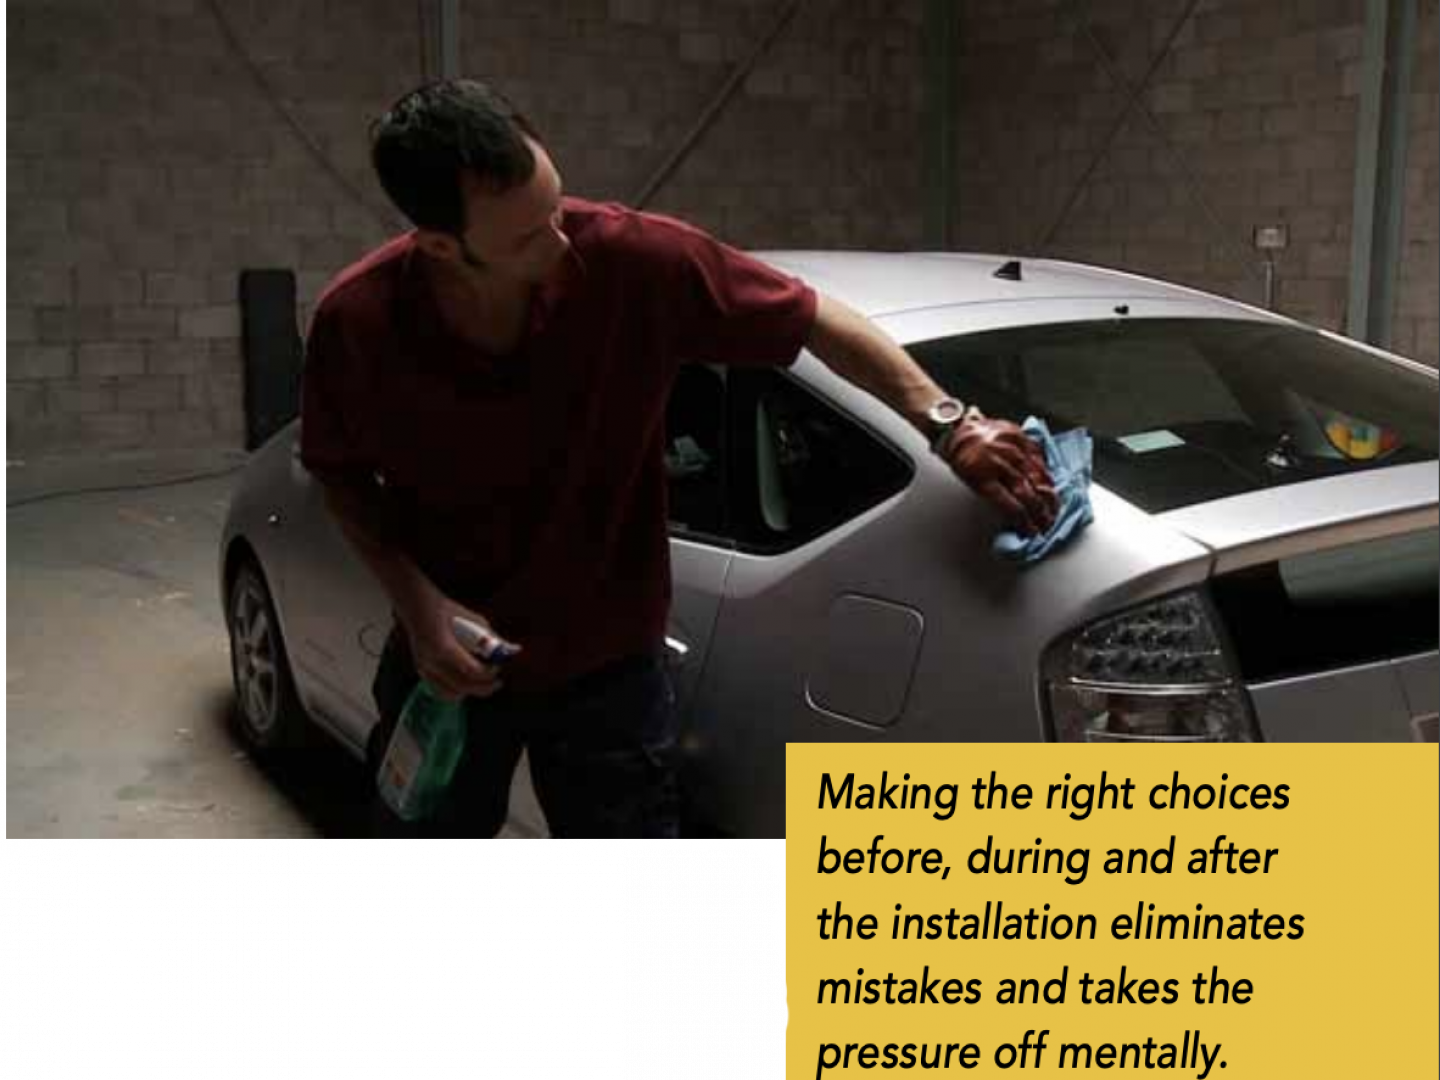
Making the right choices before, during and after the installation and using a set sequential order during the installation process eliminates mistakes and takes the pressure off mentally. With the pressure off, an installer can easily find a good workf low, which creates maximum efficiency and helps ensure profits.
ESSENTIAL PRE-INSTALL STEPS
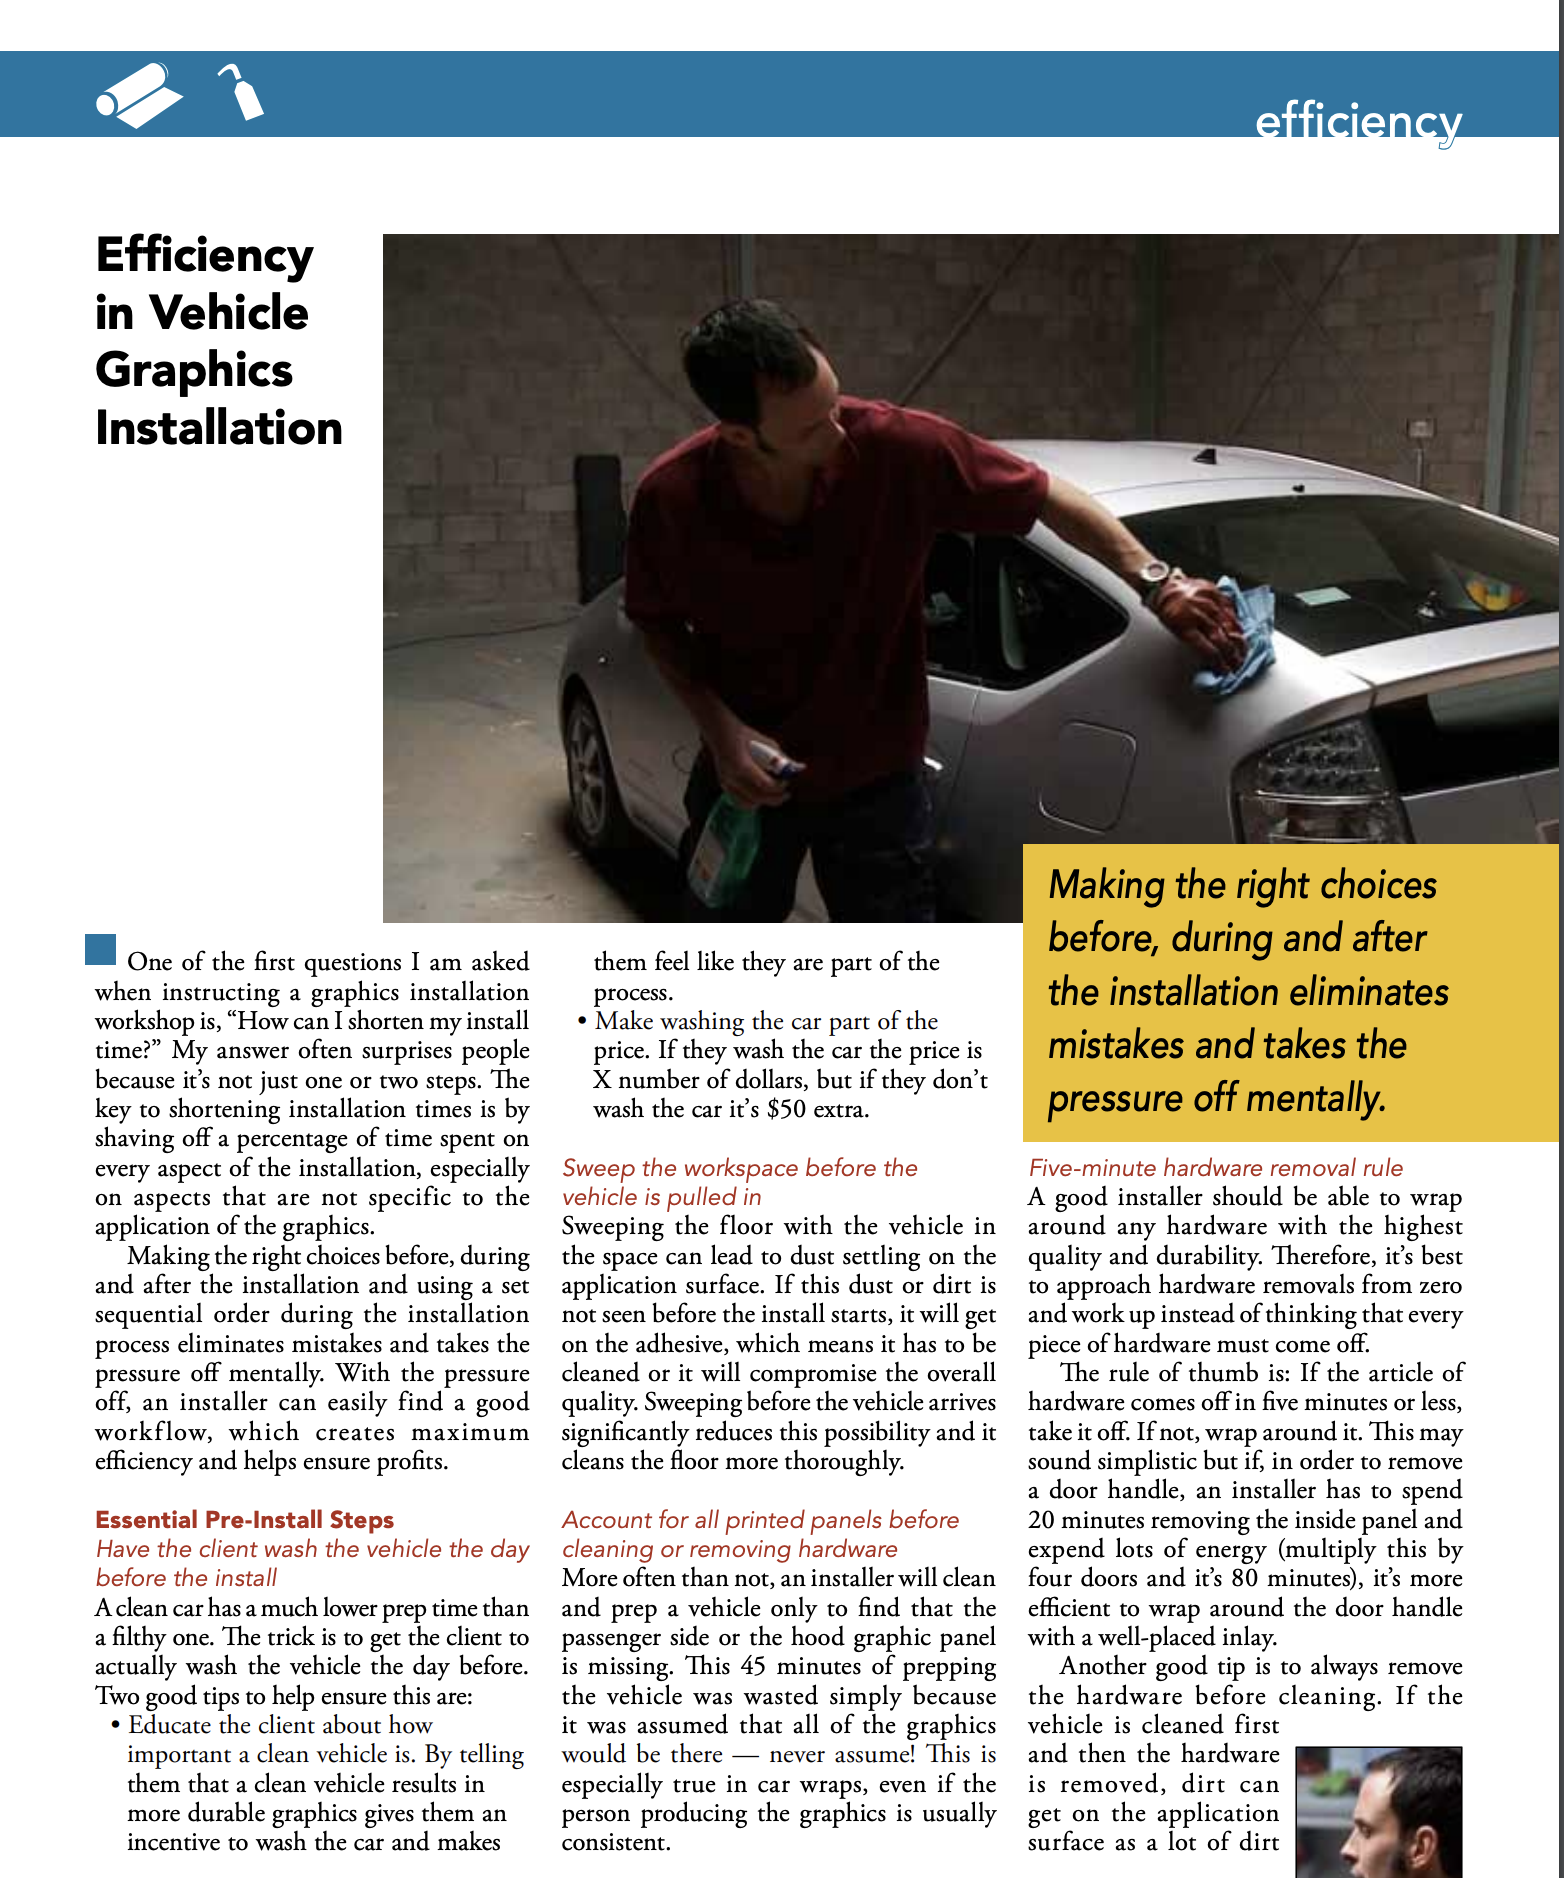
Have the client wash the vehicle the day before the install A clean car has a much lower prep time than a filthy one. The trick is to get the client to actually wash the vehicle the day before. Two good tips to help ensure this are:
• Educate the client about how important a clean vehicle is. By telling them that a clean vehicle results in more durable graphics gives them an incentive to wash the car and makes them feel like they are part of the process.
• Make washing the car part of the price. If they wash the car the price is X number of dollars, but if they don't wash the car it's $50 extra.
SWEEP THE WORKSPACE BEFORE THE VEHICLE IS PULLED IN
Sweeping the floor with the vehicle in the space can lead to dust settling on the application surface. If this dust or dirt is not seen before the install starts, it will get on the adhesive, which means it has to be cleaned or it will compromise the overall quality. Sweeping before the vehicle arrives significantly reduces this possibility and it cleans the floor more thoroughly.
ACCOUNT FOR ALL PRINTED PANELS BEFORE CLEANING OR REMOVING HARDWARE
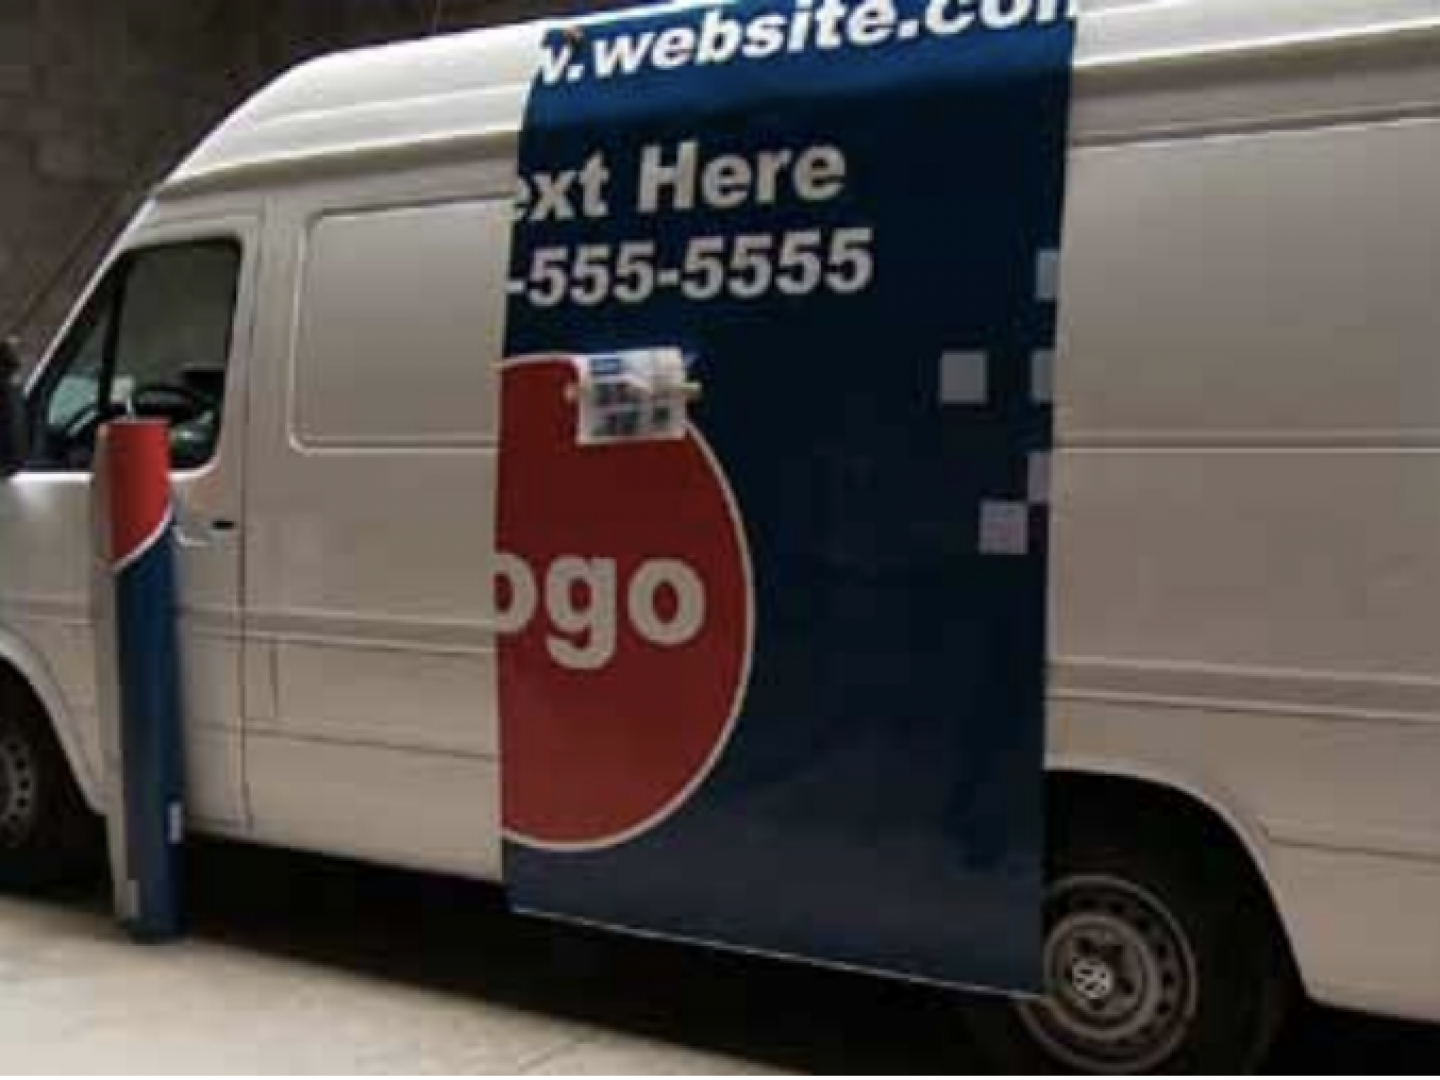
More often than not, an installer will clean and prep a vehicle only to find that the passenger side or the hood graphic panel is missing. This 45 minutes of prepping the vehicle was wasted simply because it was assumed that all of the graphics would be there - never assume! This is especially true in car wraps, even if the person producing the graphics is usually consistent.
FIVE-MINUTE HARDWARE REMOVAL RULE
A good installer should be able to wrap around any hardware with the highest quality and durability. Therefore, it's best to approach hardware removals from zero and work up instead of thinking that every piece of hardware must come off. The rule of thumb is: If the article of hardware comes off in five minutes or less, take it off. If not, wrap around it. This may sound simplistic but if, in order to remove a door handle, an installer has to spend 20 minutes removing the inside panel and expend lots of energy (multiply this by four doors and it's 80 minutes), it's more efficient to wrap around the door handle with a well-placed inlay.
Another good tip is to always remove the hardware before cleaning. If the vehicle is cleaned first and then the hardware is removed, dirt can get on the application surface as a lot of dirt lurks behind a light or mirror. If dirt is on the application surface it has to be cleaned a second time or the dirt gets under the film and has to be removed.
CLEAN THOROUGHLY
It doesn't matter how efficiently or perfectly applied the install if the application surface hasn't been properly cleaned. Having to go back and fix an edge that is peeling or a recessed area that has lifted because the application surface wasn't properly cleaned is about as inefficient as it gets, as it often costs hours, stress and money. When cleaning, always be sure to clean from the roof down. Cleaning the roof last can result in specs of dirt falling on the sides or back.

CREATE A GAME PLAN
Whether you're wrapping by yourself or with another installer, it can really help create an ideal workflow if a game plan is made. Walk around the vehicle to see what will be problem areas and what will be the easiest. If you are working with another installer, there is greater focus and less conversation about who does what during the install when each installer knows what his or her task is.
MAINTAIN A CLEAN WORKSPACE
Making sure that the excess film and backing paper go right in the trash throughout the install accomplishes several goals in terms of efficiency. It creates good flow because an installer can move freely around the vehicle, especially when having to place ladders or scaffolding. A clean workspace ensures the good panels or scraps don't get thrown in the trash (this happens more often than it should). Lastly, a clean workspace makes for a less critical client. A dirty workspace will naturally make a client suspect of the final results. This, in turn, will make them more critical, which can cost a lot of time and frustration.
LIMIT DISTRACTIONS
One of the biggest time killers during an install is a talkative client, cell phone calls and/or emails. Taking time out from the installation for any one of these completely stops the workflow and exponentially adds time to the install as well as throwing the proverbial door wide open to mistakes. The key is to limit phone calls and emails to break times. When showing up at a job, get right to work instead of starting a long conversation with the client. Conversations with the client are fine, just as long as they happen when the wrap is finished.
BEST SEQUENTIAL ORDER
Roof: Always start off with the roof. The reason for this is that it eliminates any accidental scratches or damage on the passenger and driver-side graphics.
• Hood: Hoods are the best warmup on a vehicle. Want to get a good barometer for how the film is behaving that day? Start with the hood. The hood is almost always the easiest section on a vehicle so it's a perfect way to get in the workflow.
• Inlays: With the hood and roof completed, the major work is next which consists of the sides, back and bumpers. Before starting on these big sections, first apply any inlays if they are needed. Applying the inlays first makes the install feel like its going downhill. The reason is that they are detail-oriented, and putting on the larger sections is relatively easier. Getting the petty stuff out of the way creates less pressure mentally.
• Driver/Passenger Sides: If installing vertically printed graphics, always make sure the key panel is the second from the back. The reason for this is that the area for the second panel is flat, which makes it easier to set a secure temporary hinge and to make precise measurements. Starting with the back panel takes a lot more energy and time to make it perfectly straight.
Note that by making the key panel second from the back, one overlap edge will face towards the front. The entrenched idea is that all overlaps should face away from the front in order to minimize moisture from getting under the panels. Yet, if the overlaps are all post-heated and properly applied, this should not be an issue. In short, I would rather start with the second panel from the back and save 10 minutes, my energy and ensuring a straight key panel than by sticking to a rule that is overkill and slows down the installation process.
• Back/Mirrors: Before tackling the bumpers, it's best to finish off the back and mirrors. The reason for this is that bumpers are generally the most time and energy consuming portion of the install. Leaving the back and mirrors until after the bumpers can lead to mistakes because the installer is already tired. Physically, there isn't a big difference from wrapping the back and mirrors last, but mentally it can be draining if it has to be done after bumpers.
• Bumpers: Bumpers generally take up 20-40 percent of the time spent wrapping on a vehicle. It's best to leave bumpers until last instead of doing them first. The reason is that at this point of the job, the installer is in the groove and has a good sense of how the material is behaving. Also, bumpers are never something that can be done particularly fast. They are more about due diligence and deliberate steps, which don't require huge expenditures of energy. It's better to go for speed at the beginning on the sides, hood and roof then taper out on the bumpers.
Other Applications
THE FINAL STRETCH: POST-INSTALL
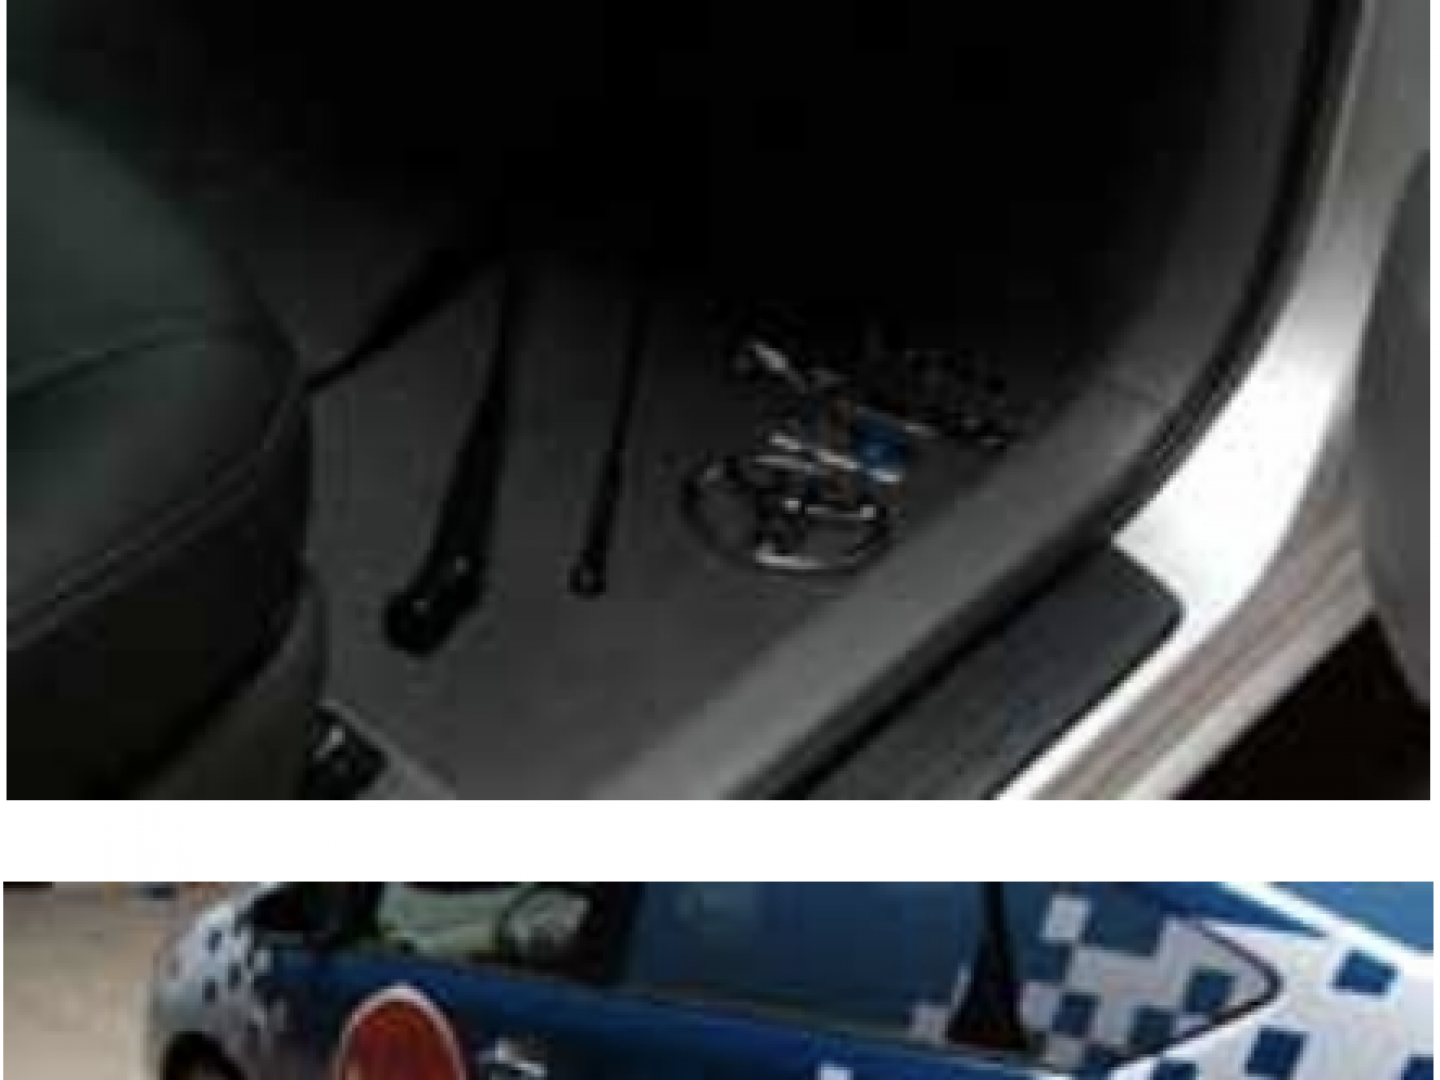
If the hardware was stored in a safe place at the beginning of an install then the reinstall of the hardware should be a piece of cake. Being sloppy with bolts and screws can cost precious time at the end of an install. It can even be embarrassing as the client is most likely there and ready to pick up the vehicle. Searching under the body of a vehicle for screw or bolt speaks for itself

FIVE-MINUTE CHECK OVER
Even though each panel or section was completely finished during the installation, it is almost a guarantee that there will be a tiny edge or corner that needs to be sealed. Skipping this check-over and assuming that the wrap is perfect will surely result in lower quality over time as moisture will get under the film and cause lifting.
SAVE MEASUREMENTS ON PRINTED TEMPLATE
If the installation was a full-print install, take measurements of where all of the text and images lay on all of the sides. This is particularly true on fleet jobs but they can be just as pertinent on one-offs.
If the client is happy with their one vehicle they will most likely come back for more. If so, having the measurements means that there is no need to lay the graphics out again, which saves a lot of time. Also, it means the new vehicles will look exactly like the first one. Making sure graphics are exactly the same on each vehicle is easy to do with these measurements.
If the vehicle was paint-wrapped (wrapped in a single color paint-wrap film) then save the measurements of each section. Keeping these measurements saves time if another of the same type of vehicle is wrapped. It may also mean that a person in the production department can take the measurements and pre-cut the panels. This saves even more time and lets an installer begin applying the graphics right away.
CONSIDER HOW WELL THE INSTALL WENT ON THE WAY HOME
This may sound kind of hokey, but some of the best ways to become more efficient can come on the drive home. Spending 10-20 minutes mentally reviewing how the install went while its still fresh in the mind can reveal new insights and ways to improve quality and efficiency. In fact, I think doing this after every install has been the biggest keys to lowering my install times.
EXAMPLE OF NOT FOLLOWING THESE STEPS AND TIPS
• Dirty Car: add 20 minutes
• No Backups: Add 35 minutes (have
to make a trip to Home Depot)
• Removing Unnecessary Hardware:
Add 40 minutes
• Removing the Hardware After
Cleaning: Add five minutes (another
wipe down)
• No Game Plan: Add 20 minutes (no
workflow)
• Putting the key panel on onequarter-inch crooked: Add 25
minutes (each adjoining panel has
to be tweaked in order to make the
30 | SGIA Journal ■ January/February 2011 Visit SGIA at SGIA.org
graphics “work” or fit good enough to
avoid a reprint)
• Skipping Five-Minute Check Over:
Add 10 minutes (client sees a loose
corner and then becomes very
critical; continues to walk around
the whole car and points out several
more tiny imperfections that have to
be finished off)
• Failing to Post Heat Properly: Save
20 minutes (Costs five hours because
a section lifts or peels (have to
reprint a fender, laminate, trim and
pack up, go back to install location,
remove panel that has lifted and
re-install it.)
• Total Time Added to Install: More
than two hours and 15 minutes.
• Total Time with Repair: More than
seven hours, and most likely losing
a client.
With lowering install times and entering the realm of speed-wrapping, it’s clear the key is to become more efficient along every step of the process. Saving one minute on a task doesn’t seem like a lot, but when added up over the course of a wrap, it turns into profits and time. I think the biggest thing to remember is that efficiency is the fruit of installing graphics the right way – every time.

